

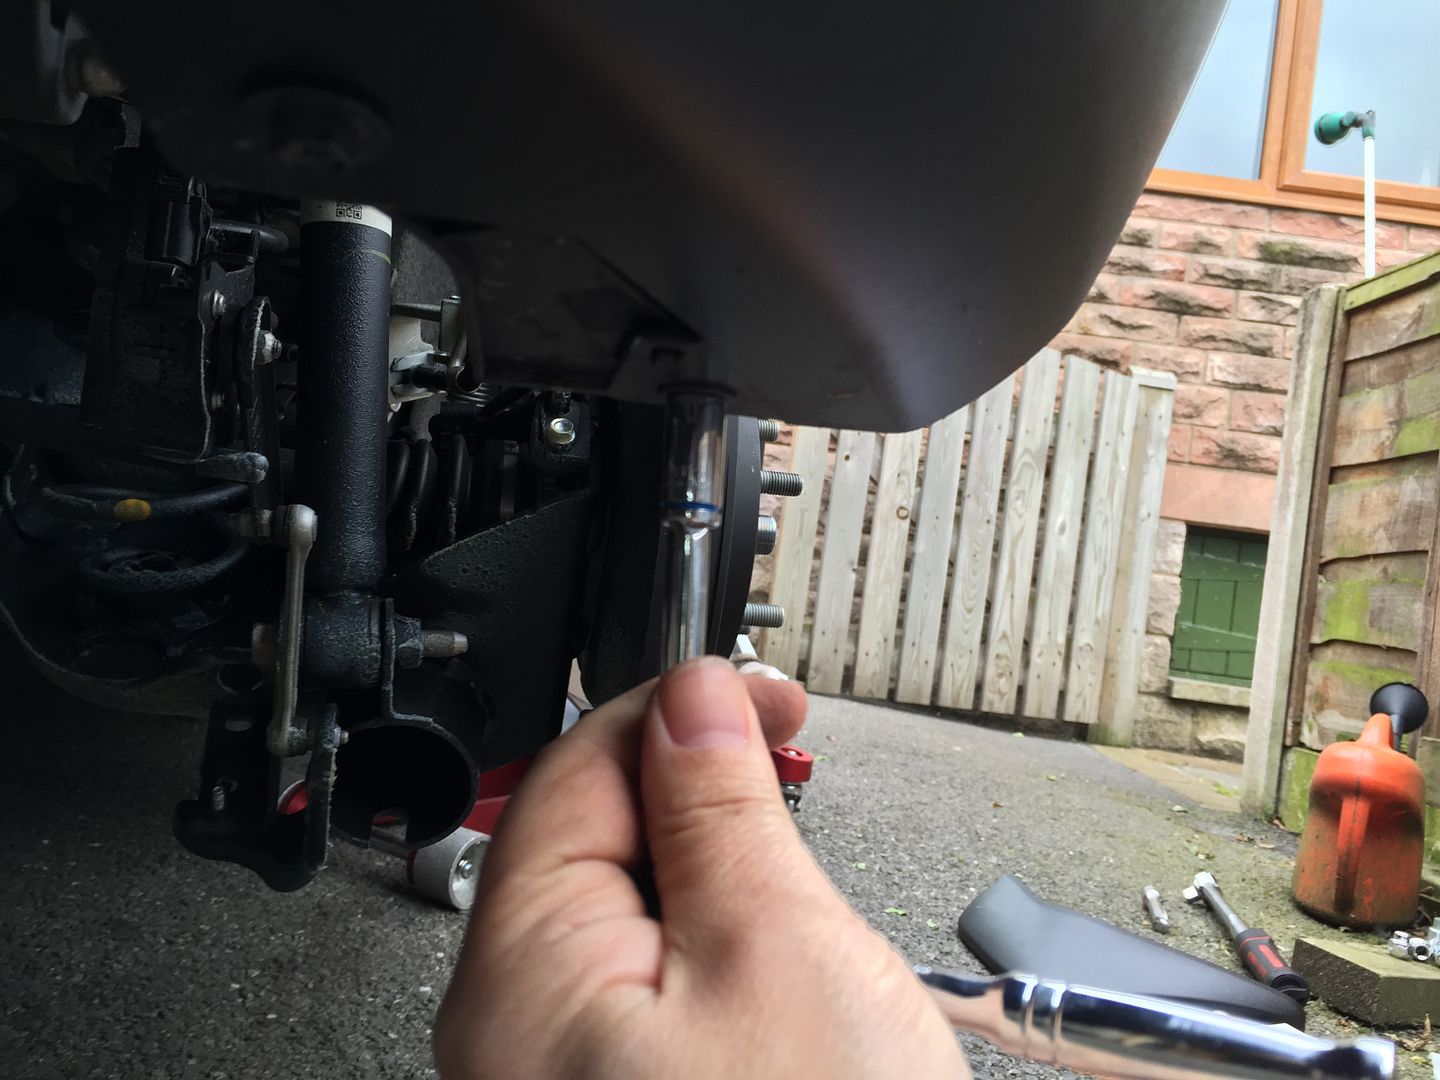
Illustration 2 is just the bolt underneath;
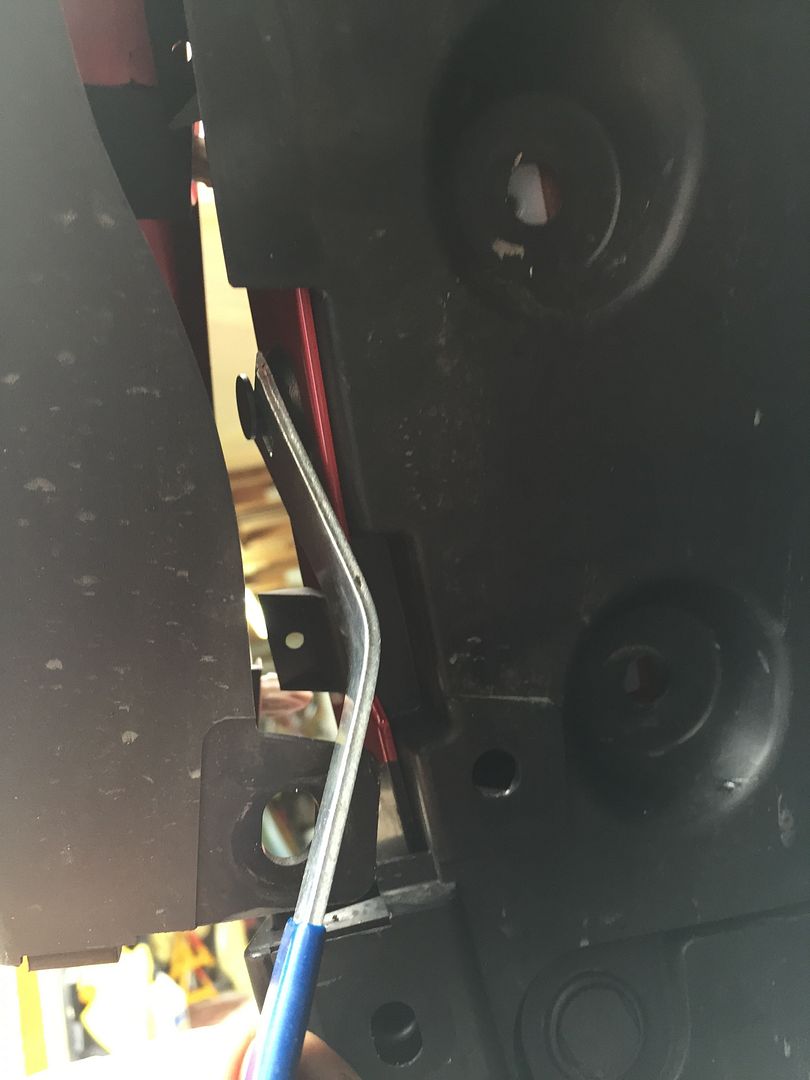
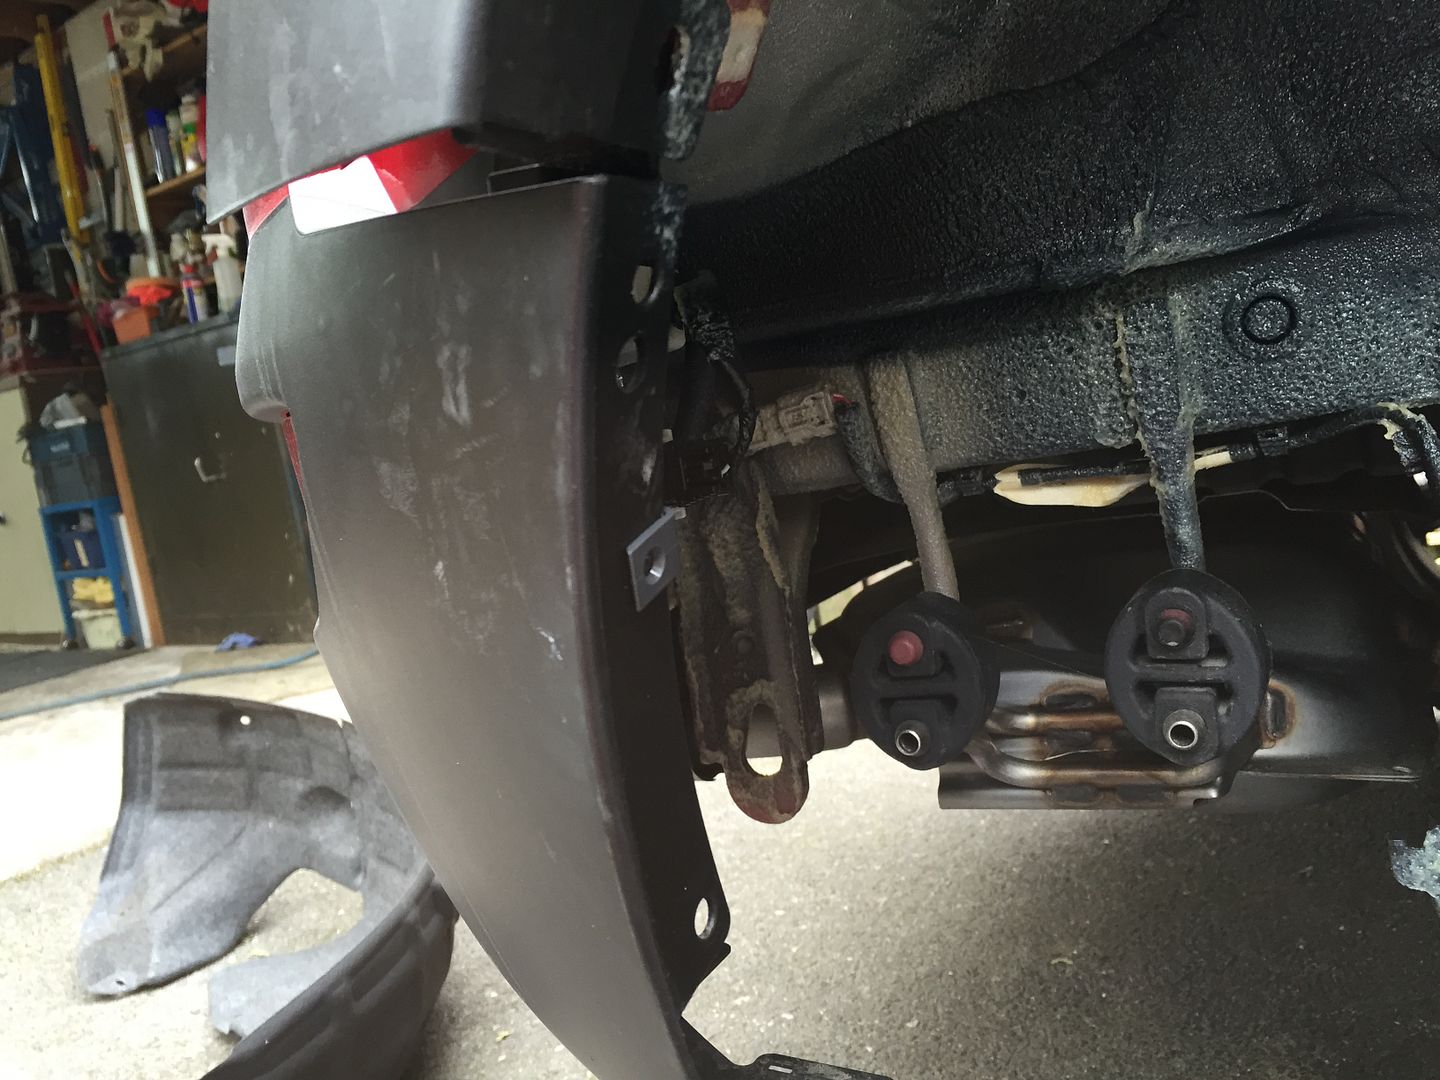
The shaded part in illustration 3 shows the fender around the wheel arch. You just hook it up with your fingers and carefully pull. You only need the bottom 2 clips out. It will give you access to another stud which is shown in illustration 4 and this photo;
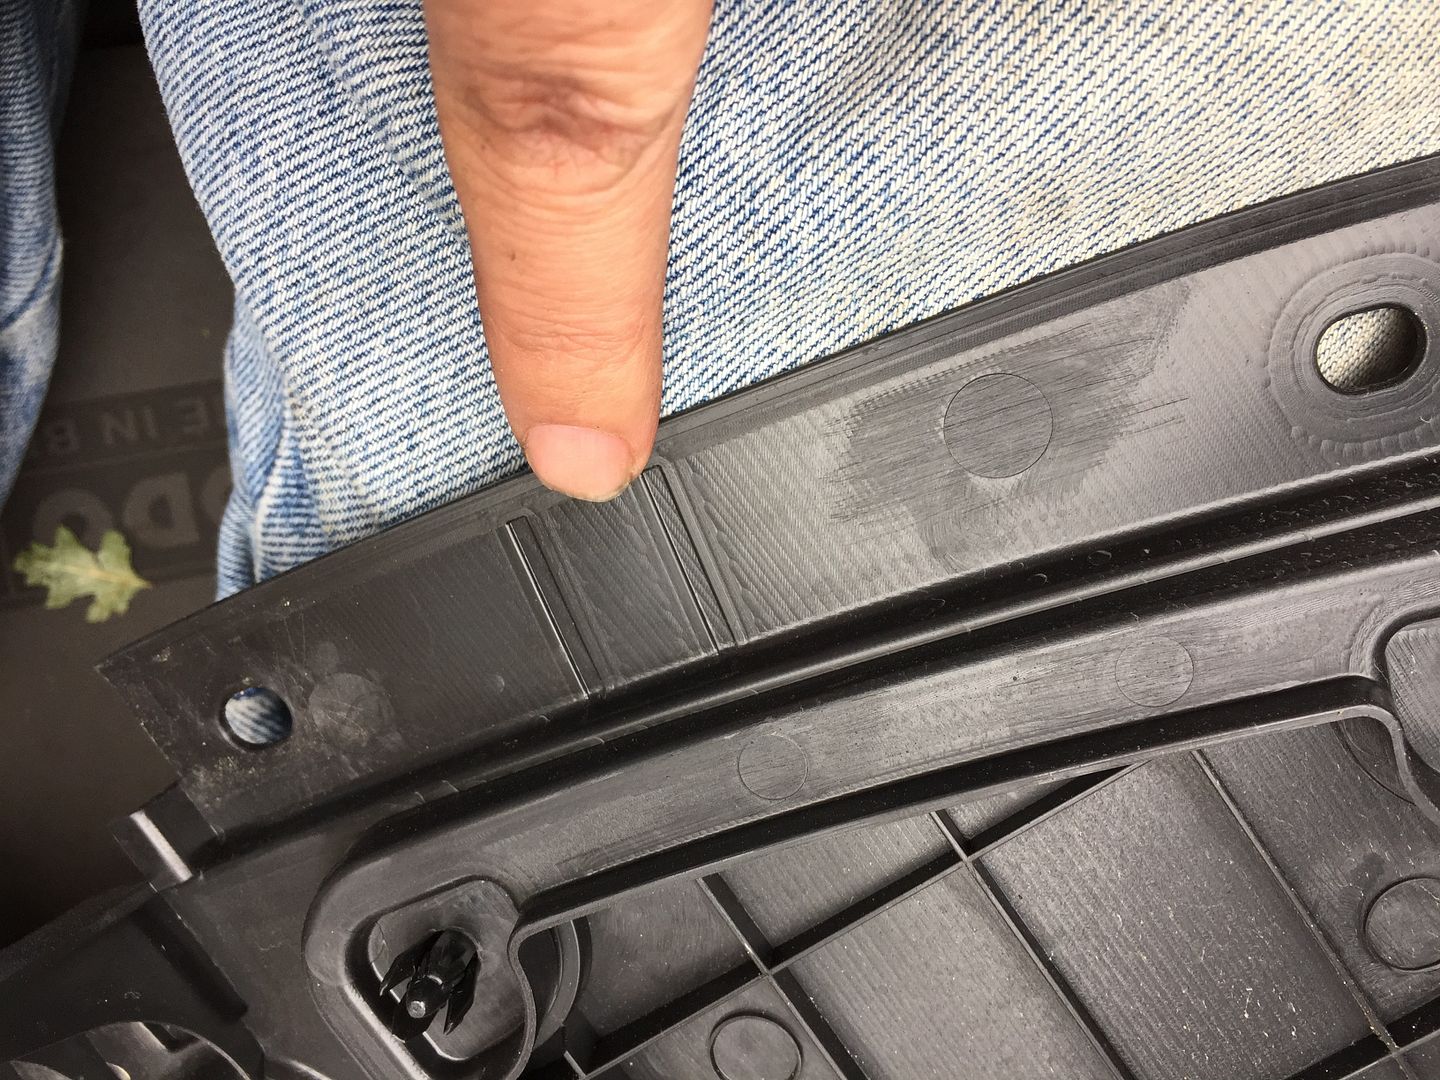
If you push those two clips arrowed, you can remove that plastic section which will allow it to come off. It is effectively the lower part of the wheel arch liner - quite a big piece. When you turn it over, it is already marked for you to cut out the part and make the hole shown in illustration 5.
This is the section you need to snip out;
......and this is the hole you need to open out;

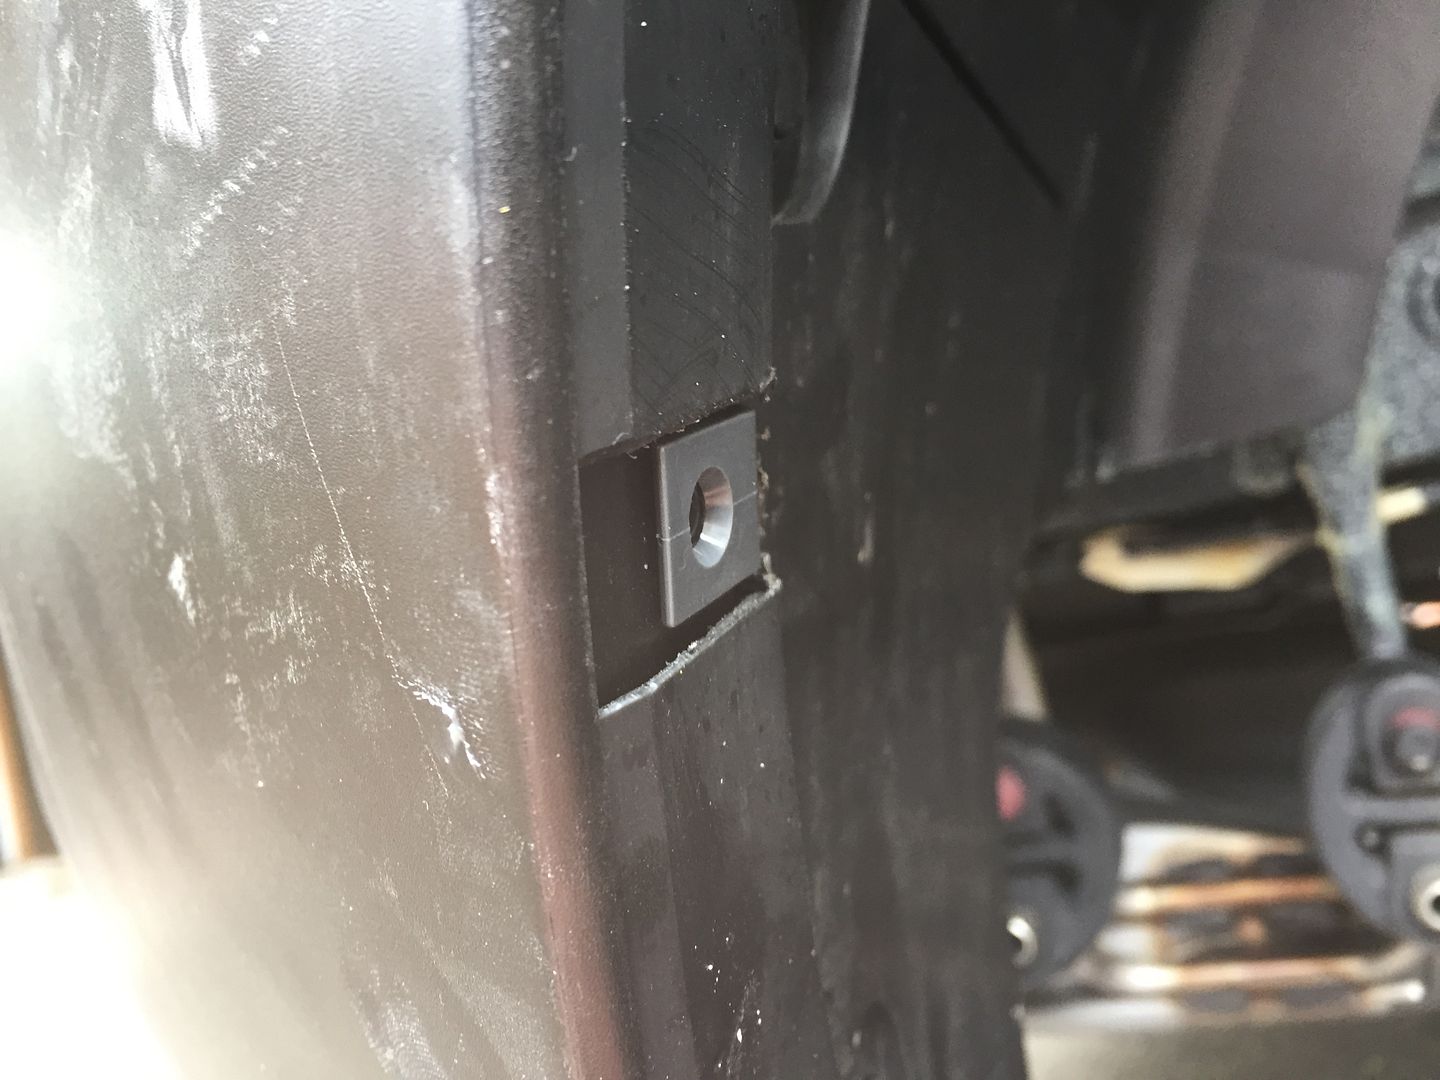
Slide the captive nut onto the middle hole as shown in illustration 6 like this;
Replace the plastic liner as shown in illustration 7 making sure that the little clips are hooked on as arrowed and then pop that stud back in behind the fender. When its back it looks like this;
OK, now click that fender back as shown in illustration 8 and put the inner bolt back as shown in illustration 9. Fit the plastic nut, clips and bolts back as in illustration 10 then you can fit the mudflap proper. Pop the clip in as shown in 11, and loosely screw in the bolts in 12. Push the mudflap up tight to the body while you finally nip them up. Remember they only go into plastic nuts so don’t go mad.
Like the fronts, they fit perfectly;

These instructions will seem a bit confusing - they did to me, but if you start, it will all make sense! Here are the pdf instructions.
